A fish tank stand provides secure support for your aquarium while complementing your home decor. While you can purchase ready-made stands, building your own allows you to customize the size, design, and features to perfectly fit your tank and space. With the right tools and materials, constructing a DIY aquarium stand is a satisfying do-it-yourself project for all skill levels.
What are the Benefits of Building Your Own Fish Tank Stand?
Constructing your own stand offers many advantages over buying a prefabricated one:
- Custom size – You can build the stand to precisely fit your tank’s dimensions. This provides optimal stability and safety.
- Custom design – From simple 2×4 designs to more intricate styles, you control the aesthetics completely. Match your home’s decor.
- Cost savings – DIY stands are much cheaper than purchased complete units.
- Sturdiness – You choose quality thick lumber for maximum strength to support heavy tanks.
- Features – Add doors, shelves, or storage to suit your needs.
- Learn new skills – Gain woodworking knowledge and use power tools. DIY stands make excellent beginner projects.
So if you want the perfect stand tailored to your tank and space, building it yourself is rewarding and cost-effective.
What Type of Wood Should Be Used?
Choosing the proper lumber is key to providing a solid foundation for your aquarium. Here are the best woods to use:
- Pine – Affordable and easy to work with, pine is a good choice for simple stand designs. Opt for thicker boards to increase strength.
- Oak – Dense and durable, oak can support substantial weight. It’s resistant to moisture. Red oak is often used.
- Maple – Similar strength to oak with attractive grain patterns. Birch has comparable properties.
- Alder – Lightweight yet sturdy, alder stains well for various finishes. It is less expensive than oak or maple.
- Plywood – Multiple layered sheets make plywood very strong. Use at least 3/4″ thick boards. Marine grade is water-resistant.
- Cedar – Naturally rot-resistant, cedar makes excellent stands for outdoor tank locations. Teak has similar moisture-proofing.
Avoid particle board or pine boards under 1″ thick. For a heavy-duty tank, choose thick hardwood planks for maximum support. Custom design your perfect stand!
How Much Weight Will the Stand Need to Support?

To select the appropriate lumber, calculate the total filled weight of your aquarium setup:
- Tank – The base weight is 10-12 lbs per gallon of water capacity. A standard 55 gallon tank weighs 550-650 lbs.
- Substrate – Sand or gravel adds around 1 lb per gallon, so 55-65 lbs for a 55 gallon.
- Decor – Rocks, wood, plants, etc. can add up to 50+ lbs.
- Filtration – Canister filters and other equipment weigh 15-25 lbs typically.
So a common 55 gallon freshwater setup with substrate and decor can total around 700-800 lbs filled!
For saltwater tanks, factor an additional 10 lbs per gallon for live rock and corals. A 55 gallon reef system can weigh over 1000 lbs!
Bigger tanks obviously increase from there. To support this reliably long-term, a reinforced hardwood stand is best.
What Tools Do You Need to Build a Fish Tank Stand?
One benefit of DIY stands is that you may already have many of the required tools. Here is the basic toolkit:
- Tape measure – Essential for precise sizing of lumber and the stand dimensions. Get an extendable 25+ foot tape.
- Pencil – Mark cuts, angled ends, hole locations, etc. Pencils are erasable if you make a mistake.
- Carpenter’s square – Ensures corners are square for uniform stands. Helps mark cut lines.
- Level – Verify the stand is level when assembling. Mini levels work for small surfaces.
- Saw – A miter saw, circular saw, or jigsaw to make cuts. A table saw also works for repetitive cuts.
- Drill – Drills holes for inserting screws or bolts to connect pieces. A power drill makes quick work.
- Sandpaper – Use coarse to medium grit paper to smooth lumber and finish sanded.
- Safety gear – Gloves, dust mask, ear protection, and eye protection for safe use of power tools.
These basic tools allow you to measure, cut, join, and finish boards to create sturdy aquarium stands. Invest in quality tools for best results.
What is the Best Design for a Homemade Fish Tank Stand?
With a DIY project, you can choose from numerous designs to suit your skill level, tank size, and style preferences:
- Simple floorboard design – A basic rectangular stand from 2×4 or 2×6 boards. End legs provide support underneath.
- Framed design – A vertical frame pieced together with end legs and horizontal crossbeams across the top and bottom.
- Box design – Boards screwed together into open ended cubes or rectangles. Use multiple boxes for larger tanks.
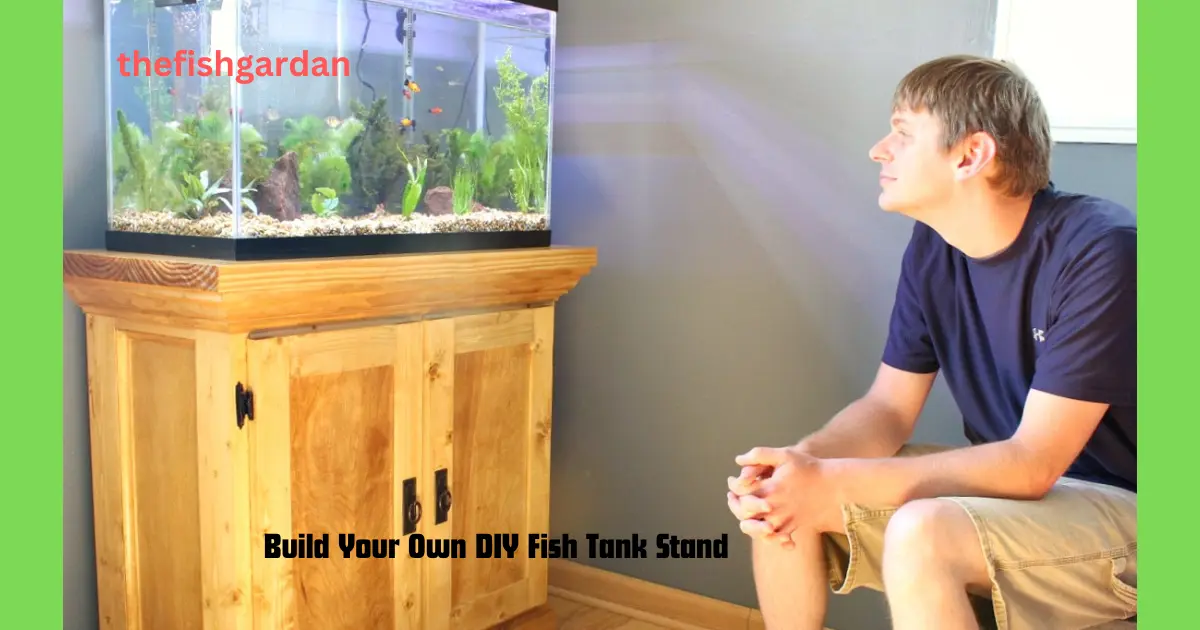
- Cabinet design – Enclosed cabinet with plywood sides, front, back and doors attached to a frame.
- Bowfront design – Same as other styles but front boards are cut in a curved shape to fit bowfront aquariums.
- Canopy design – Combines a tank stand with an overhead wood canopy for lighting and accessories.
- All-glass design – Clever arrangement of glass planes to craft a unique transparent stand. Advanced project.
Consider your skill level, tools, tank footprint, and time commitment when deciding on a design. Simple is better for beginners.
Step-by-Step Instructions for Building a Basic Floorboard Fish Tank Stand
While every stand design is constructed differently, this simple floorboard style only requires basic tools and techniques. Follow these step-by-step instructions:
Supplies Needed
- 3/4″ pine, oak, or maple boards
- 4 corner leg posts, 3-4″ width
- Deck screws, 3-4″ length
- Miter saw or circular saw
- Power drill with screwdriver bit
- Tape measure, pencil, carpenter’s square
Cutting the Boards
- Measure the length and width dimensions of your tank’s base footprint.
- Cut 4 boards to the tank’s length. These will be the side boards.
- Cut 2 boards to the tank’s width. These will the front and back boards.
- Align boards together on a flat surface to test the fit. Leave small gaps between for airflow.
Cutting the Legs
- Determine desired height for the stand. Add 3-4″ for the thickness of the boards.
- Cut 4 leg posts to the height measurement. Miter the ends at 45 degree angles.
Assembling the Stand
- Position 2 side boards parallel, with leg posts screwed into the corners.
- Attach the front and back boards between the side boards. Check corners for squareness.
- Fasten all joins with 3-4″ deck screws. Drill pilot holes to prevent splitting.
- Carefully flip the stand right side up and verify it sits level. Add felt pads on bottom of legs.
- Sand any rough edges. Stain and finish as desired. Allow drying time.
- Lift and position tank onto completed stand. Fill slowly with water to test stability.
And that’s it! You now have a custom DIY aquarium stand tailored specifically for your tank at a fraction of the cost of store-bought stands. Follow these instructions for success building your own!
FAQs About Constructing DIY Fish Tank Stands
For customization, incorporate these design options:
- Add molding trim details
- Include storage cabinets, drawers, or shelves
- Use contrasting wood boards for decorative patterns
- Cut boards in unique shapes for curved or angled stands
- Mix painted and stained/natural wood tones
- Attach canopy overhead for lighting and accessories
- Use casters or wheels for a mobile stand
Matching your home decor and tank size, get creative making it your own!
What is the best way to join boards together?
Screws produce the strongest, longest-lasting joins. Select corrosion-resistant deck screws, around 3″ long. Drill pilot holes to prevent splitting. Glue like liquid nails between boards adds extra stability. Avoid just using nails which can loosen over time
Precautions for Fish Tank Stands
While building your own stand is rewarding, be sure to follow some basic precautions:
- Carefully follow all design plans and measure twice to cut once
- Use adequate lumber thickness to safely bear the filled tank’s weight
- Pre-drill holes for screws to prevent cracking wood
- Check for level and structural soundness before placing tank
- Use leg pads to distribute weight evenly on the floor
- Shim stand if needed to level and prevent rocking
- Position tank for electrical access and to avoid direct sunlight
- Gradually fill tank, checking for leaks and stability
- Ensure stand is fully dried if using stain or paint to avoid leaching chemicals
With proper planning and care, your DIY stand can securely support your aquarium for many years. Always put safety first!
Achieving a Beautiful Finish
The right finishing touches will enable your DIY stand to not only be sturdy but also beautiful:
- Sand starting with 60 grit paper up to 220 grit for a smooth sanded surface
- Wipe away all sawdust after sanding to prep for finishing
- Apply wood conditioner before staining for evenly absorbed color
- Test stains on scrap wood to achieve the desired hue
- Apply gel stains with foam brushes for easier control
- Sealer and polyurethane protect the finish from moisture and scratches
- Paint stands with primer first for enhanced adhesion
- Use high quality brushes for the smoothest painted coats
- Replace hardware with decorative handles, hinges, and knobs
With extra care taken to sand, finish, and seal your wood properly, your hand-crafted stand will look store-bought beautiful!
Conclusion
Building your own DIY aquarium stand allows complete customization to provide the perfect fit and features for your tank and decor. While requiring more initial effort than buying a pre-made stand, the cost savings and ability to match your home’s style make an excellent woodworking project for all skill levels. Follow the structural principles and steps outlined here for constructing a solidly supportive and beautiful tank base for your underwater ecosystem to thrive upon for years to come!